UTryIt+: Basic Example to Try
Throughout this website you have seen "basic steps" illustrated and this page is the collection of that material that you can try to setup your own project using best practices. After doing this "Basic Example" and looking at ULearn the goal is for you to be comfortable enough to leverage this for use in your next SW Project Development experience.
NOTE: while you may be doing this by yourself, you will not experience all the functionality of working in a team but, as a "Basic Example" it will expose you to practicing Design Concept, Versioning Setup (local and remote), Scheduling, Development and Issue Tracking.
STEP A: Design Concept
Fill in the following to create a Design Concept for a Hello World project who's goal is to create a customized Hello NAME message where NAME is the name of a Student--- here is a blank text file to get started
Design Concept Template
Title:______________
(author:)
****fill in the following sections and modify as needed******
Abstract
1 paragraph describing the idea, possibly with some motivating images illustrating a use case or something related to the project
Concept
Give a run through of a typical use-case by showing Mockups of the Application or if no GUI Mockups visualizing data exchanges or chages in state
How it Works
A system diagram (at a high level) that hints at the architecture and modularization of your system
Issues
Give important issues that need to be researched (basically list things you dont know yet how you will do). Also give impacts that are important--like budgetary issues.
STEP B: Setup Local git repository
STEP 1
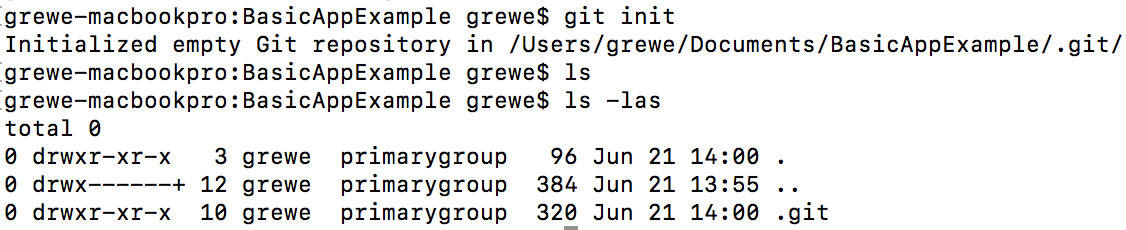
INIT: create the local repository (in directory of software):
git init
basic example
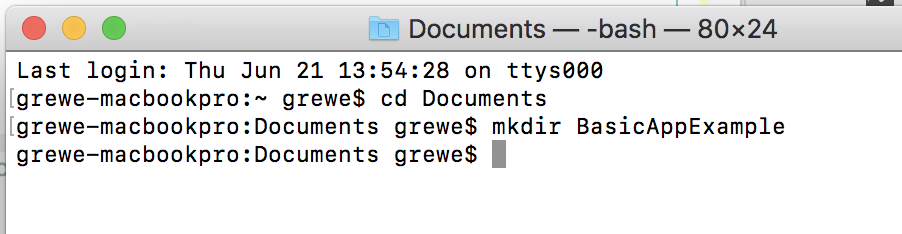
setup directory called BasicAppExample where will put the code
run git init
STEP 2
develop SOME little part of code and unit test (see Testing for discussion of testing)
basic example
create some simple code and place it in your directory.
For example here is a "Hello World Code" For Java*********use any language you have experience with and feel comfortable in using*******************
public class BasicAppExampleMain {

	 public static void main(String[] args) {
		 // Say hello
		 System.out.println("Hi");

	 }

}
STEP 3
ADD files you want to commit --example to add all files
git add *
basic example
STEP 4
COMMIT (specify a message and commite all added files)git commit -am "added new code for XXX"
basic example
STEP 5
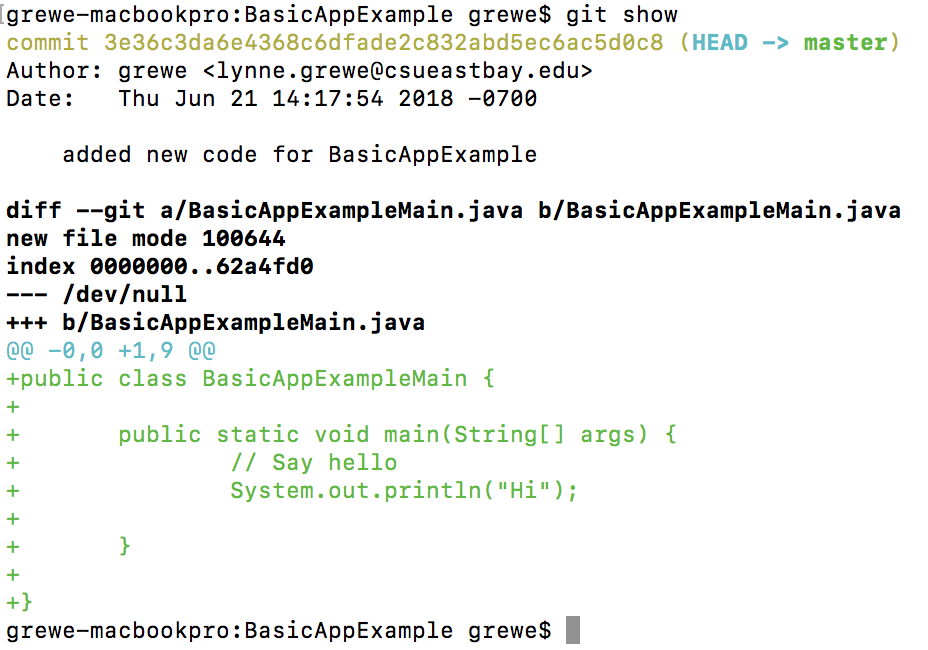
check your status
git show
basic example
STEP C: Create an account on a remote reponsitory service (bitbucket.org or github.com) and
setup a remote repository for your "Basic App Example"
Setup a remote repository on bitbucket.org (done only once for each project)
- have gone to http://bitbucket.org and logged in (or if you do not have an account you must create one)
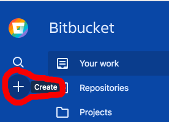
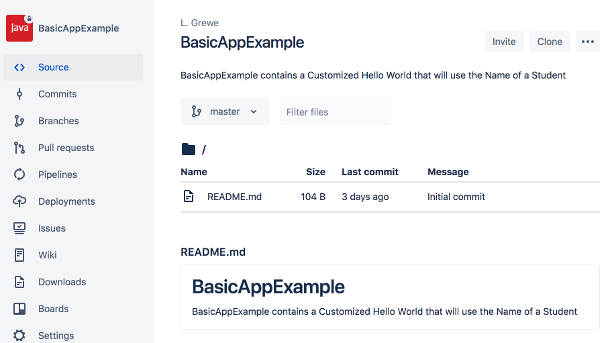
- Create a new repository
- Here is the result
- Now you need to write down the URL to your new remote repository -- hit CLICK into your new reposirtory (like the one shown in #3) and hit Clone button and you will see it. Mine is https://grewe@bitbucket.org/grewe/basicappexample.git
On local machine setup your local git in your basic example project directory to have a "git remote" that points to your URL. (git remote add <name> <URL> )
(you do this only once for each project)
git remote add origin https://grewe@bitbucket.org/grewe/basicappexample.git
There is no result shown from add the remote, it is done
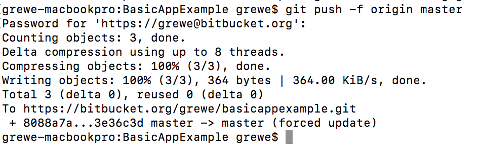
Push the code to BOTH local (master is the name) and remote (origin is the name) repositories (Special note: for the first push you must have the -f option because when you created the remote repository it had a file readme that is not on the local machine so you must force this first push)
git push -f origin master
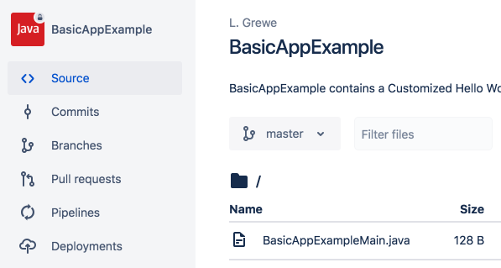
here is the result --you can now see our BasicAppExampleMain.java
up in the source of the bitbucket remote repository
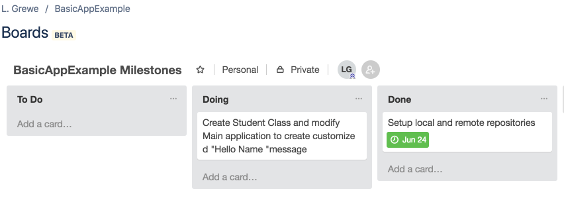
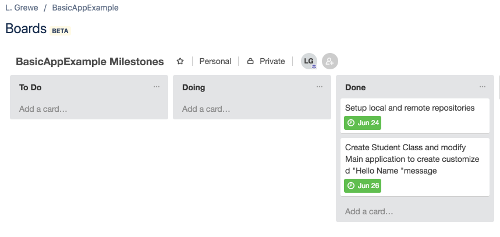
STEP D: Create a Scheudle represented as Milestones in a Trello board
---follow the steps discussed here to set up 2 milestones in our Trello board milestone lists. One is the initial local and remote repository setup which I moved to "Done" list and the second is to add some new code to cutomize our "Hello World" message. Move this second card to the "Doing" list.
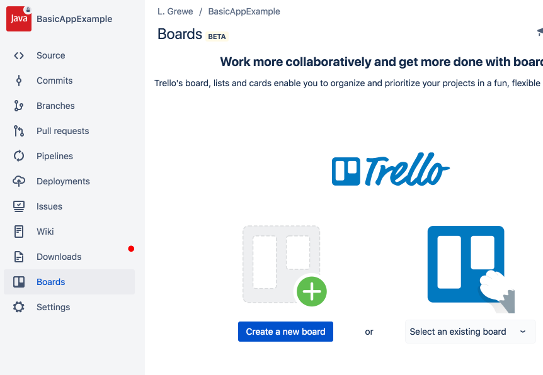
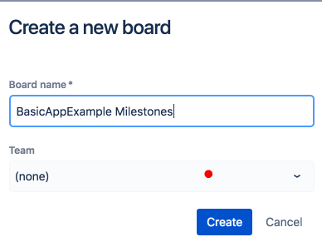
STEP 1
create new trello board from within your bitbucket account
STEP 2
Now lets make the 2 new cards and put them in their correct list to reflect what we are doing
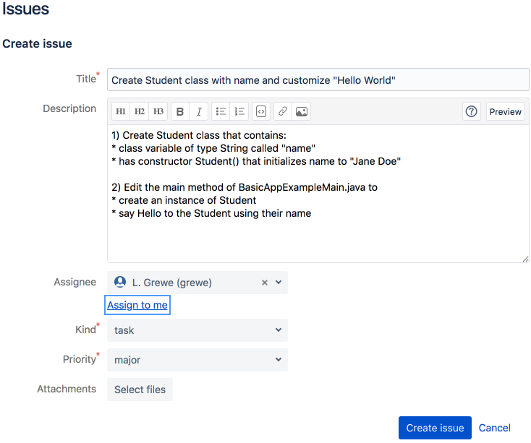
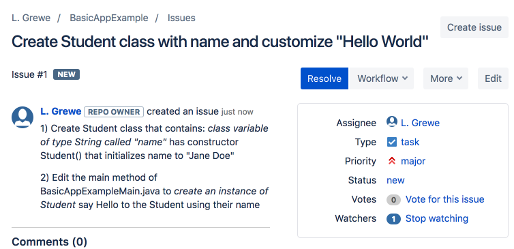
STEP E: Create an Issue to add a new feature to your codebases
--- yes, this is a simple example and what we are going to do next is get some experience with making an Issue. Read here to learn about what issues are. We are going to create a new issue related to our milestone. That is to create a Student class that contains a class variable "name" and a constructor that initializes it to "Jane Doe".
Go to the Issues link in bitbucket repository and create a new issue
STEP F: Modify code to fulfill the Issue in STEP E:
Go to your local machine and add the following Student.java file
/**
 * Class to represent a Student
 * @author grewe
 *
 */
 public class Student {

	 /**
 	* holds name of the student
 	*/
	 String name;

	 /**
	 * initialize name to "Jane Doe"
 	*/
 	Student() {
      this.name = "Jane Doe";
 	}
}
Now edit the BasicAppExampleMain.java to look like the following
 public class BasicAppExampleMain {
		public static void main(String[] args) {

                       //create instance of Student
                       Student student = new Student();

                       // Say hello
                       System.out.println("Hi " + student.name);

		}
}
Compile the code on the command line and run it
STEP G: Add all the newly changed files and push them to both local (master) and remote (origin) repositories
STEP 1
git add *

git commit -am "Added New code for Student and custome message"
STEP 2
Now lets push the code to BOTH the local (master) and remote (origin)
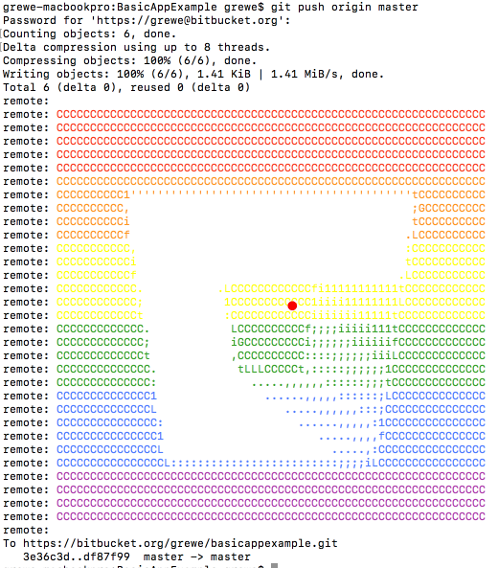
git push origin master
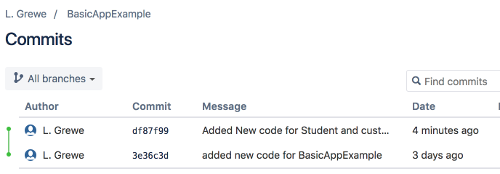
Now you can see on bitbucket there are 2 commits
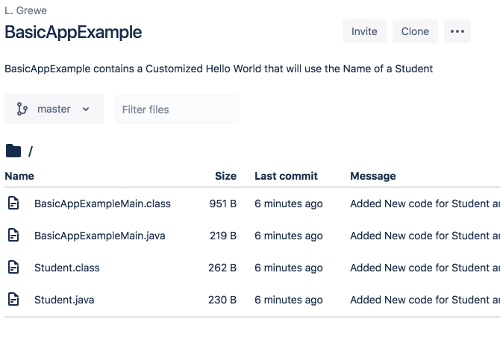
AND you can go on bitbucket to source and see all the new source that was pushed there
STEP H: Move the "Doing" Milestone to the "Done" list AND set issue as resolved
STEP 1 move mileston to "Done" -go to bitbucket -> Boards
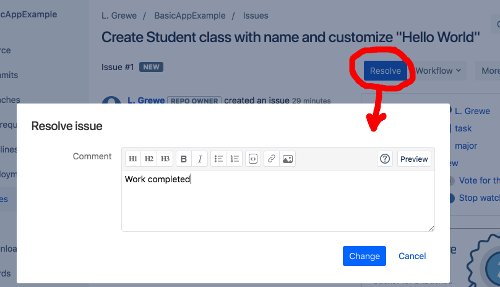
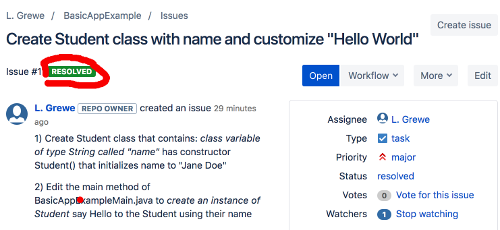
STEP 2
Set issue you created before to resolved