Heroku -- free tier account for NodeJS (and other languages)


Heroku (free tier) getting started guide with NodeJS on Heroku
- You can create an account initially with no credit card. What the free account will allow you to do is Heroku policy and please go to Heroku.com to investigate (for example limits may be:
- Languages / Frameworks – Node.js | Java | PHP | Ruby | Python | Scala | Clojure
- Limits – 1X 512MB RAM | 1x CPU Share | Row limit of 10K | Four hours downtime/month
- No/limited add-on services
- Note: Heroku call's virtual machines dynos and you create a dyno using a virtual machine image called on Heroku a slug that includes your application and its dependencies
- We are not teaching explicitly distributed cloud with Heroku but, you can (and it will cost you not free) launch multiple dynos
- on Heroku seutp I had to manually install 2 modules (npm install express and npm install ejs in the project directory) they were not part of the sample git application downloaded as part of getting started.
Basics of setting up a new project for Heroku (not including the code you will write) and deploy with Heroku & Run it
- Basic steps to create new project (see getting started guide above link for updates) (assumes you gone through getting started and downloaded nodejs, npm, heroku command line interface,etc)
- create directory locally where you want the project to be located in
- log into heroko go to that directory in a command window and type:
heroku login
Enter your Heroku credentials.
Email: zeke@example.com  Password:
- create your project (see here on how to create a simple basic hello world project with NodeJS and Express)that will have the following setup (you can do this manually or look for a NodeJS IDE you may like) You should have:
- at least 1 nodeJS file
- node_modules = contains various nodeJS dependencies
- app.json = this is file specific to a Heroku getting starting example...:
{
"name": "Start on Heroku: Node.js",
"description": "A barebones Node.js app using Express 4",
"repository": "https://github.com/heroku/node-js-getting-started",
"logo": "http://node-js-sample.herokuapp.com/node.svg",
"keywords": ["node", "express", "static"],
"image": "heroku/nodejs"
} - package.json (shows dependencies)
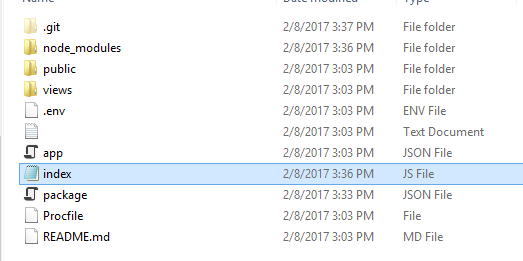
- create project ON Heroku by typing in: take note in highligted red the URL it autogenerated for you to represent the URL to your app on Heroku. Note also a local git repository is setup for you
 heroku create
  Creating sharp-rain-871... done, stack is cedar-14
  http://sharp-rain-871.herokuapp.com/ | https://git.heroku.com/sharp-rain-871.git  Git remote heroku added
- Deploy the app to Heroku and Run it from Heroku it by first pushing with git then calling open which will launch the deafault web interface specified in Procfile into your browser
$ git push heroku master
$ heroku open
OR say you are editing some files, save them then type in:
 git add .

 git commit -m "your message"

 git push heroku master
- To run it locally rather than remotely:
heroku local web 14:39:04 web.1 | started with pid 24384 14:39:04 web.1 | Listening on 5000
Just like Heroku,
heroku localexamines theProcfileto determine what to run.Open http://localhost:5000 with your web browser. You should see your app running locally.
To stop the app from running locally, in the CLI, press
Ctrl+Cto exit.
file example (hello world example from scratch):
{
"name": "helloworld",
"version": "1.0.0",
"description": "simple hello world app",
"main": "index.js",
"scripts": {
"test": "echo \"Error: no test specified\" && exit 1"
},
"author": "L. Grewe",
"license": "ISC",
"dependencies": {
"express": "^4.14.1"
}
}file example (from Heroku getting started example):
{
"name": "node-js-getting-started",
"version": "0.2.5",
"description": "A sample Node.js app using Express 4",
"engines": {
"node": "5.9.1"
},
"main": "index.js",
"scripts": {
"start": "node index.js"
},
"dependencies": {
"pg": "4.x",
"cool-ascii-faces": "1.3.4",
"ejs": "2.4.1",
"express": "^4.13.3"
},
"repository": {
"type": "git",
"url": "https://github.com/heroku/node-js-getting-started"
},
"keywords": [
"node",
"heroku",
"express"
],
"license": "MIT"
}
.
- create directory locally where you want the project to be located in
Runing a particular script or running the console
This is where you can create a special interactive consel that you can run nodeJS statements and even save them. Go to http://www.nodelabs.org/repl.html for a tutorial on how to use console.
 heroku run node
  Running `node` attached to terminal... up, run.2132
  Detected 512 MB available memory, 512 MB limit per process (WEB_MEMORY)
  Recommending WEB_CONCURRENCY=1  >
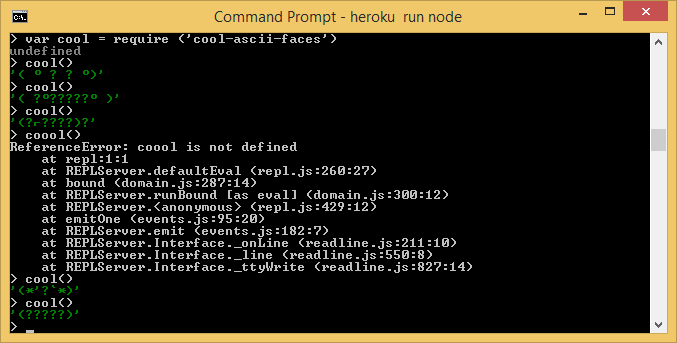
look what happens when I use the cool-ascii-faces module and run the funciton cool() a few times --- look what happens when I try to run coool() which does not exist.
Hit Cntrl-C when you want to exit out of the console
Configuration Variables --- in the .env file in project's main directory
To add a new Configuration variable
heroku config:set TIMES=2
To view your project's configuration variables that have been set
 heroku config
  == sharp-rain-871 Config Vars
  PAPERTRAIL_API_TOKEN: erdKhPeeeehIcdfY7ne
  TIMES: 2
Heroku addons -- Data storage and detailed MongoDB example using mLab MongoDB
Using Heroku web console rather than command line
this is a dummy app I have deployed in my account
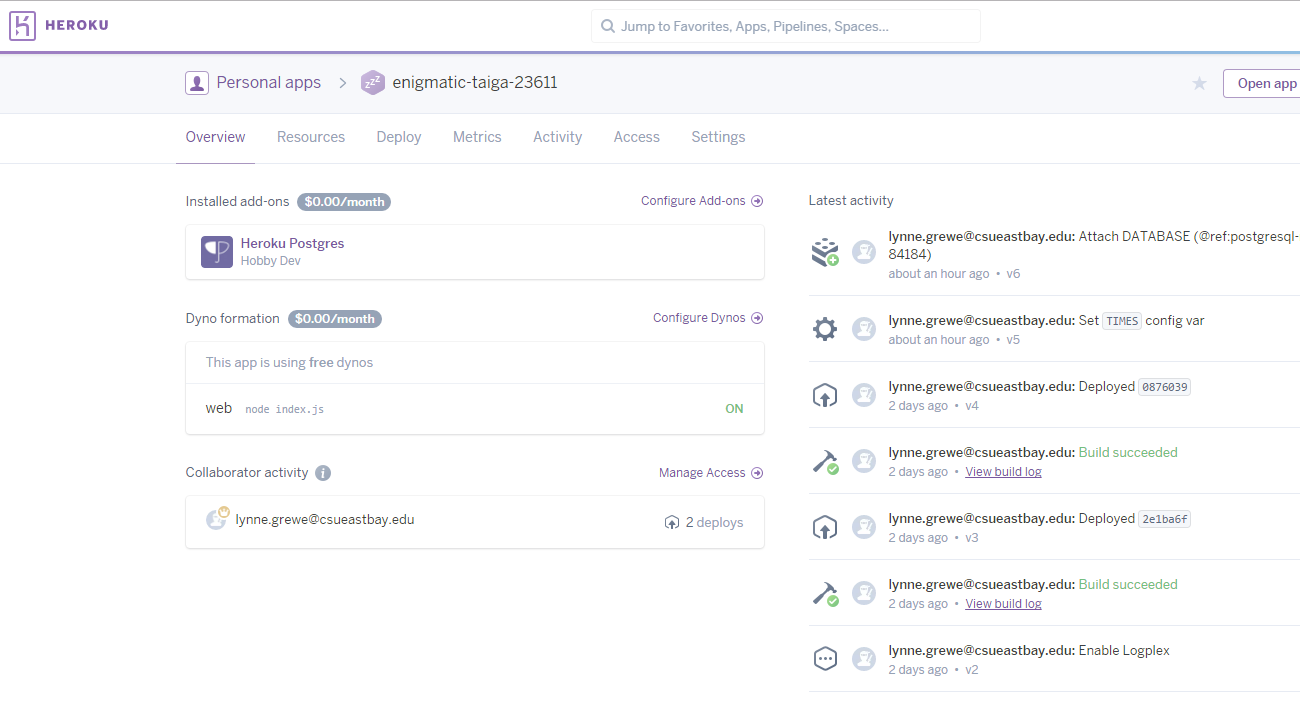
you can see I am using a Postgress database and my main app is index.js
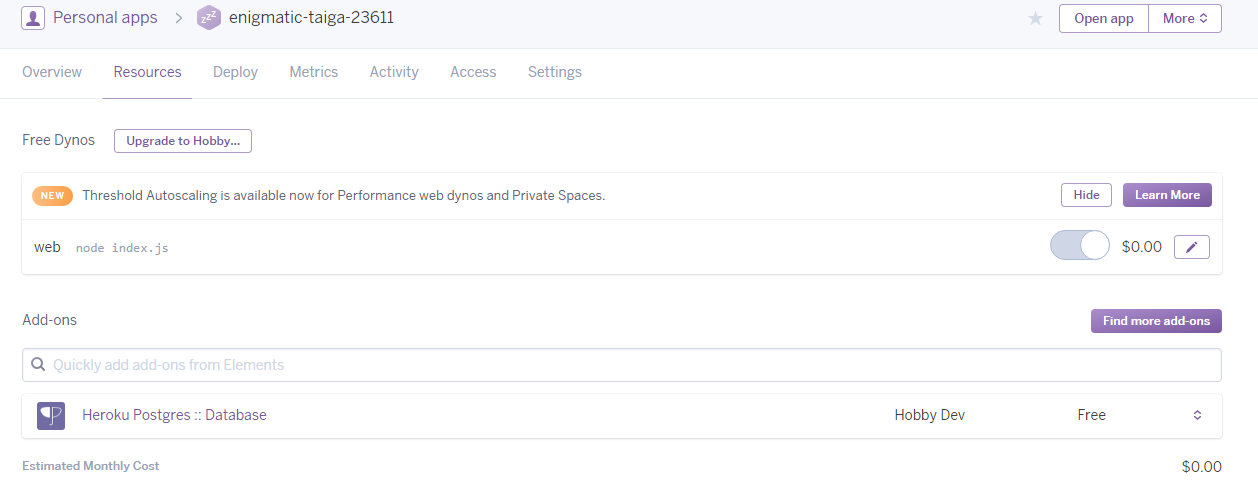
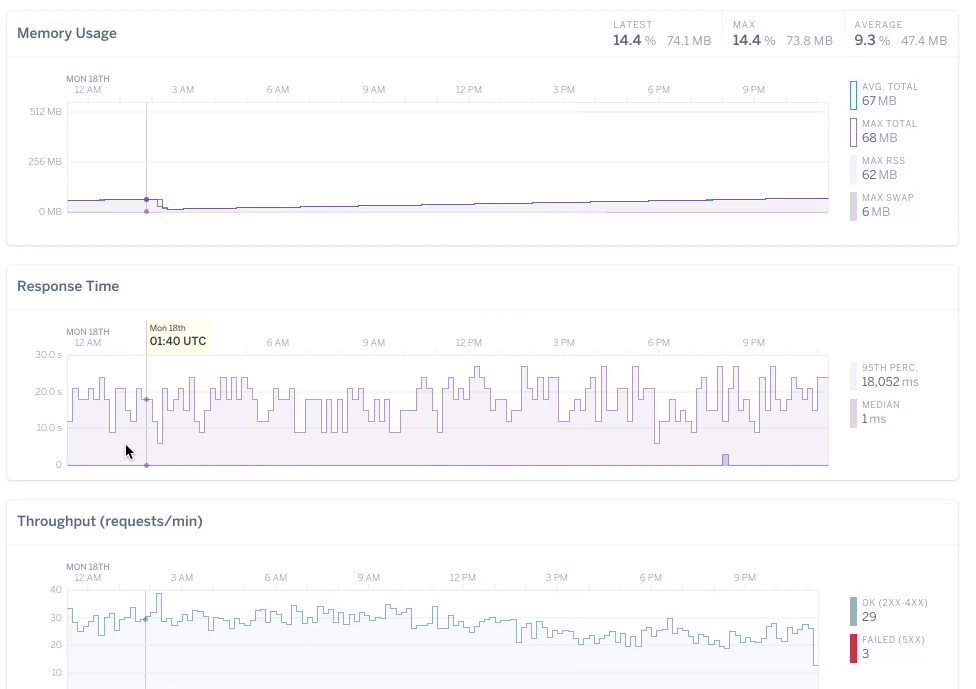
no one is using my app but, its pretty fast for free --- go to metrics tab in console for analytics
