CS4521: Mobile and Topics in Web Programming |
||||||
|
Adroid Gallery
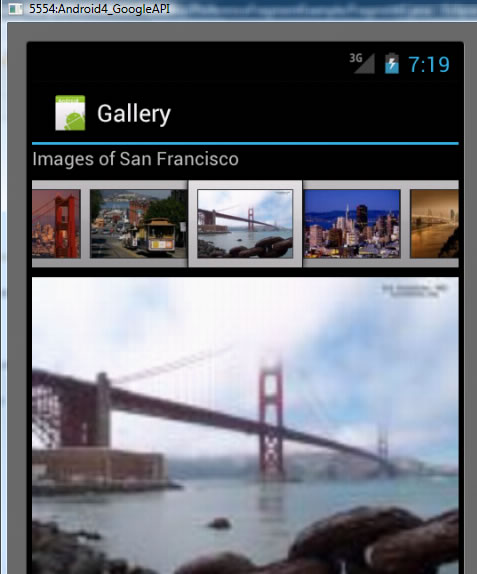
Gallery is a view that that displays images in a
center-locked, horizontally alligned scrolling list.
See Android's tutorial on Gallery
android.widget.Gallery class AND in XML <Gallery> tag
Gallery is an AndapterView read up on the concept of AdapterViews and Adapters
uses the following:
Class Used
Method to set
How used
android.widget.BaseAdapter
you will create your own Adapter that extends this class
Gallery.setAdapter(*) binds the Gallery with a series of ImageView views (for display of images). ALSO, connects the Gallery (an AdapterView) and the data source that feeds data to it.
>> this supports the display of the images into the Gallery itself
>>it uses the BaseAdapter.getView() method to help do this task...how Gallery uses this method is internal to the Gallery code written for you.
>>BaseAdapter.getView() returns an ImageView that you should populate with the image that should be at the user's currently selected position in the Gallery's horizontall scrolling images. As shown below you need to override this method in your BaseAdapter class
android.widget.AdapterView.OnItemClickListener Gallery.setOnItemClickListener(*) This class will be used to respond to when the user clicks on an image in the Gallery
STEP 1: Use xml <Gallery > tag inside an xml layout file
-
example here has a Gallery and also an ImageView below it
-
when user clicks on new Gallery image will display it in the ImageView
<?xml version="1.0" encoding="utf-8"?>
<LinearLayout xmlns:android="http://schemas.android.com/apk/res/android"
       android:layout_width="fill_parent"
       android:layout_height="fill_parent"
       android:orientation="vertical" >

<TextView
       android:layout_width="fill_parent"
       android:layout_height="wrap_content"
       android:text="Images of San Francisco" />

<Gallery
       android:id="@+id/gallery1"
       android:layout_width="fill_parent"
       android:layout_height="wrap_content" />

<ImageView
       android:id="@+id/image1"
       android:layout_width="320dp"
       android:layout_height="250dp"
       android:scaleType="fitXY" />

</LinearLayout>
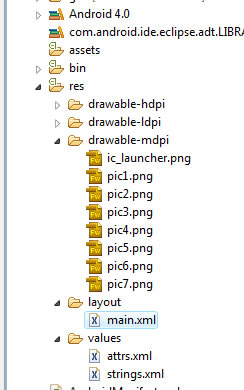
STEP 2: store images that you will display in gallery in res/drawable-* folder
STEP 3: Create an Activity class that references the images, setups Gallery including its Adapter and OnItemClickListener for Gallery
Activity will setup the following Properties for the Gallery
setup Images as an array public class GalleryActivity extends Activity {
//---the images to display---
Integer[] imageIDs = {
R.drawable.pic1,
R.drawable.pic2,
R.drawable.pic3,
R.drawable.pic4,
R.drawable.pic5,
R.drawable.pic6,
R.drawable.pic7
};
|
 |
grab handle to Gallery specified in xml layoutt public class GalleryActivity extends Activity {
//---the images to display---
***********
 /** Called when the activity is first created. */
         @Override
         public void onCreate(Bundle savedInstanceState) {
            super.onCreate(savedInstanceState);
            setContentView(R.layout.main);

Gallery gallery = (Gallery) findViewById(R.id.gallery1); |
|
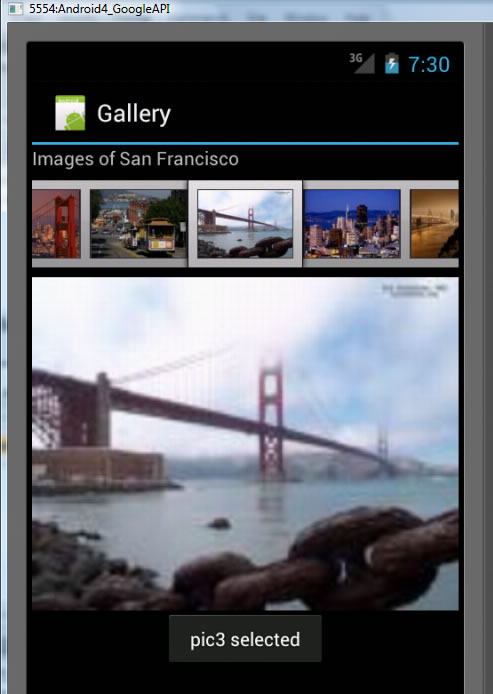
OnItemClickListener will when an image is clicked in the dispaly some temporary text public class GalleryActivity extends Activity {
//---the images to display---
***********
/** Called when the activity is first created. */
@Override
public void onCreate(Bundle savedInstanceState) {
//*********CODE above*******
gallery.setOnItemClickListener(new OnItemClickListener()
{
public void onItemClick(AdapterView<?> parent, View v,
int position, long id)
{
Toast.makeText(getBaseContext(),"pic" + (position + 1) +
|
 |
Adapter--- set the Adapter for the Gallery public class GalleryActivity extends Activity {
//---the images to display---
***********
 /** Called when the activity is first created. */
         @Override
         public void onCreate(Bundle savedInstanceState) {

             //*********CODE above*******


             gallery.setAdapter(new ImageAdapter(this));    // ----->>>>>>>>>>>
         }
|
Create Adapter Class for gallerythis class extends BaseAdaper class, and binds the Gallery with a series of ImageView views. ALSO, connects the AdapterView and the data source that feeds data to it. NOTE THIS IS AN INNER CLASS DEFINED IN OUR ACTIVITY CLASS SO WE HAVE ACCESS TO
|
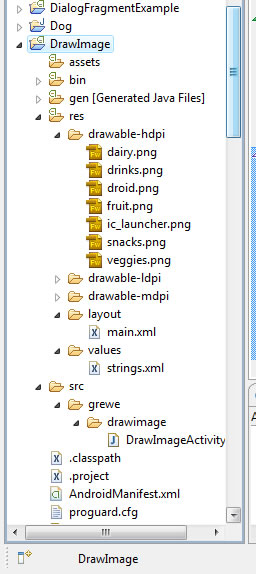
- Create Android Project named DrawImage with one Activity with the UI specified in main.xml that contains:
a TextView, ImageView and a Button - See below main.xml that is in the res/layout folder.
- ADD IMAGES to project in any or all of the res/drawable-hdpi, drawable-mdpi, drawable-ldpi folders, the image is called droid.png (we have others we will use later)
main.xml
<?xml version="1.0" encoding="utf-8"?>
<LinearLayout xmlns:android="http://schemas.android.com/apk/res/android"
android:layout_width="fill_parent"
android:layout_height="fill_parent"
android:orientation="vertical" >
<TextView
android:layout_width="fill_parent"
android:layout_height="wrap_content"
android:layout_gravity="center_horizontal|center_vertical"
android:text="@string/hello" />
<ImageView
android:id="@+id/image_display"
android:src = "@drawable/droid"
android:layout_gravity="center_horizontal|center_vertical"
android:layout_width = "wrap_content"
android:layout_height ="wrap_content" />
<Button
android:id="@+id/btnChangeImage"
android:layout_width="wrap_content"
android:layout_height="wrap_content"
android:layout_gravity="center_horizontal|center_vertical"
android:text="Change Image" />
</LinearLayout>
DrawImageActivity.java
(gets UI from the main.xml above)
import android.app.Activity;
import android.os.Bundle;
import android.widget.Button;
import android.view.View;
import android.widget.ImageView;

public class DrawImageActivity extends Activity {

     //button in GUI defined in main.xml
 	  Button image_button;

     //ImageView object in GUI defined in main.xml
 	  ImageView iview;


     /** Called when the activity is first created. */
 	  @Override
 	  public void onCreate(Bundle savedInstanceState) {
 	            super.onCreate(savedInstanceState);
 	            setContentView(R.layout.main);


               //create handle to our Image View
 	            iview = (ImageView) findViewById(R.id.image_display);
 	         }
 	  }
Altering Dynamically the Image that is Displayed
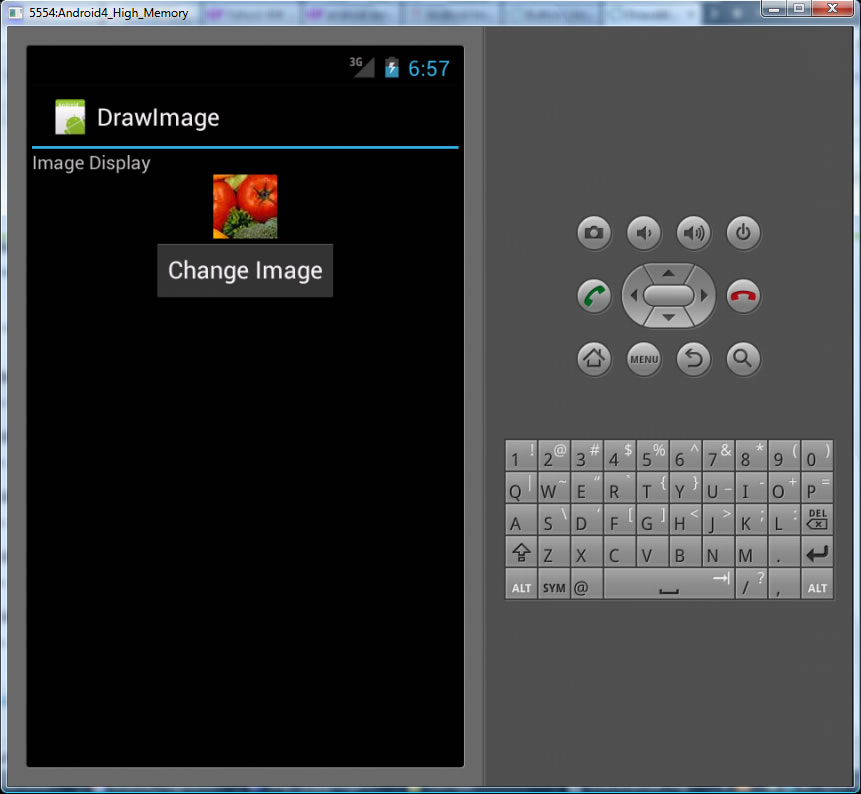
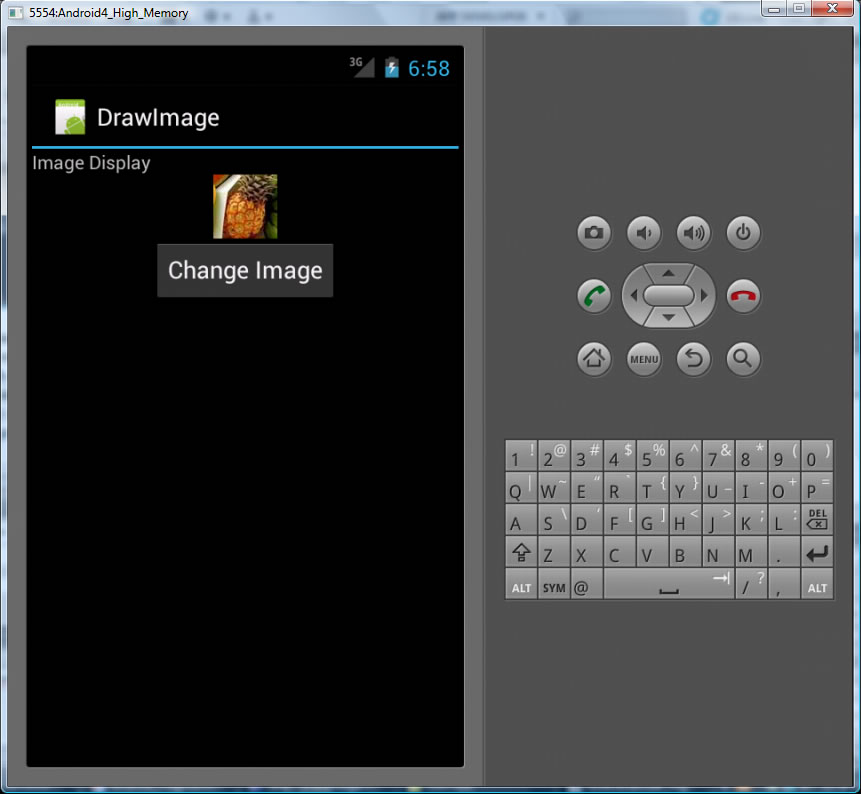
- NOTICE above in our res/drawable-hdpi folder we have multiple images. Lets write some code to now when the button is hit to cylce through the images of food we have stored there.
- we need to Alter DrawImageActivity.java in the following ways as reflected in the code below
- create a class variable representing the button in the interface called image_button
- create a class variable that is an array of resource ids representing our food images, called imageIDs[]
- create an index called image_index to loop through this array and restart to 0 when at the end of the array.
- add the onClick() eventlistener for this button to do our image display cycling through imageIDs array using image_index
- ALTER DrawImageActivity
- invoke setImage with an integer R.drawable.* ---these are unique identifiers that can be used to represent files stored in the res/drawable-hdpi, mdpi and ldpi folders. The * = filename (without extension)
- How to invoke say from another fragment or Activity, maybe triggerd by some event-handing (see this exercise for a full example, look at ListFrag.java file):
//grab the container of the ImageView, here it is instance of DetailFrag associated with the // Resource ID R.id.frag_capt (set in the detail_frag.xml used to create interface of DetailFrag) DetailFrag frag = (DetailFrag) getFragmentManager().findFragmentById(R.id.frag_capt); //make sure that the frag object is not null and is it part of current active view hierarchy if (frag != null && frag.isInLayout()) { //change text and image frag.setText(getCapt(item)); frag.setImage(R.id.newimageFilename); //where there is a file //newimageFilename.png in res/drawable-hdpi folder }
DrawImageActivity.java
(gets UI from the main.xml above)
import android.app.Activity;
import android.os.Bundle;
import android.widget.Button;
import android.view.View;
import android.widget.ImageView;

public class DrawImageActivity extends Activity {

     //button in GUI defined in main.xml
 	  Button image_button;

     //ImageView object in GUI defined in main.xml
 	  ImageView iview;

     //Array of images that will cycle through and display in ImageView
 	  // represented by their IDS
 	  Integer[] imageIds = { R.drawable.veggies, R.drawable.fruit, R.drawable.dairy, R.drawable.snacks, R.drawable.drinks};

     //image index to cycle through images defined in imageIds
 	  int image_index =0;

     /** Called when the activity is first created. */
 	  @Override
 	  public void onCreate(Bundle savedInstanceState) {
 	            super.onCreate(savedInstanceState);
 	            setContentView(R.layout.main);

               //create a handle to our button so we can do event handling on it
 	            image_button = (Button) findViewById(R.id.btnChangeImage);

               image_button.setOnClickListener(new View.OnClickListener() {
 	                      public void onClick(View v) {
 	                                // change the image to next image in imageIds array
 	                                iview.setImageResource(imageIds[image_index]);

                                   image_index++;
 	                                //if at end of image array return to the first image
 	                                if (image_index >= imageIds.length)
 	                                     { image_index =0; }
 	                      } });

               //create handle to our Image View
 	            iview = (ImageView) findViewById(R.id.image_display);
 	         }
 	  }
<ImageView> xml attributes --look at API for complete list!!!
Attribute Name |
Related Method | Description |
Set this to true if you want the ImageView to adjust its bounds to preserve the aspect ratio of its drawable. |
||
Sets a drawable as the content of this ImageView. |
ImageView class