CS4521: Mobile and Topics in Web Programming |
||||||
|
Basics Firebase and setup for your project
-
must have Google Cloud account setup
-
setup using the Firebase Assistant that is part of AndroidStudio --read here (ignore the video which shows you the manual way to setup and instead try using the Firebase Assistant)
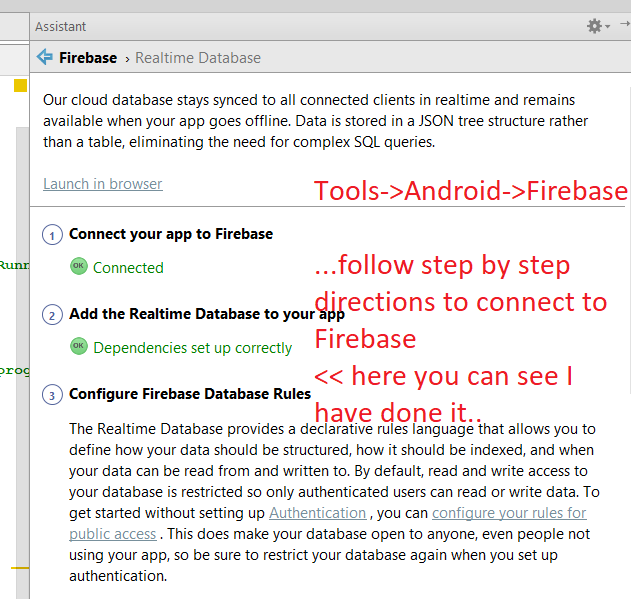
DO step 3 - configure the database rules -- lets initially make it for public access --you can learn later how to change it back and require authentication

Firebase Database --- a big JSON object (nested)
-
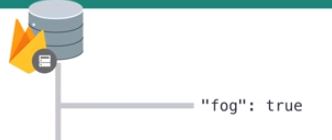
everything is stored as JSON object
in fact the entire database is a SINGLE JSON object (objects inside object)--- think of it like a TREE -
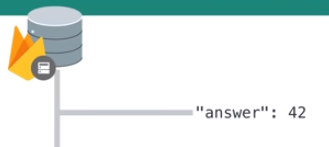
A node in the tree is like an object and consists of a key/value pair
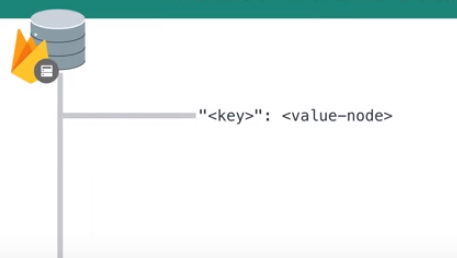
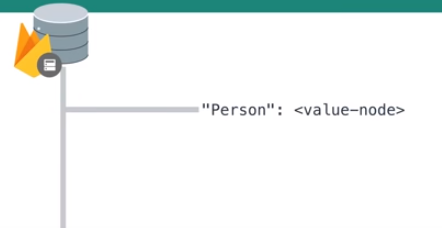
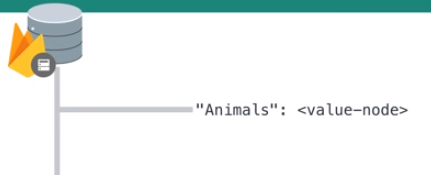
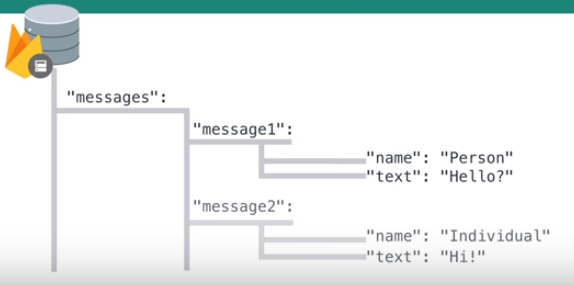
Typically you will have meaningful key names
some examples
So how do you make a database "table" --you create a nested key/value node
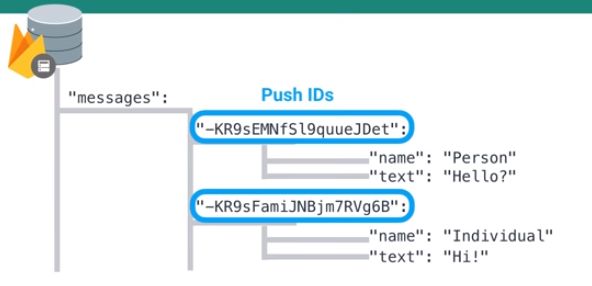
BUT --who did what message -- instead of generic message1,message2 keys, Firebase has concept of a key = pushID (these are unique , ordered keys)
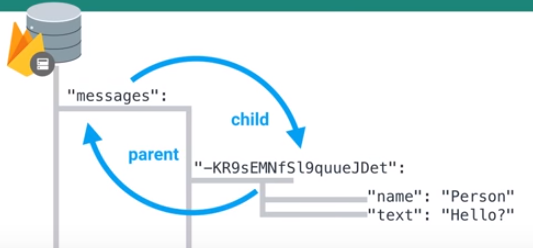
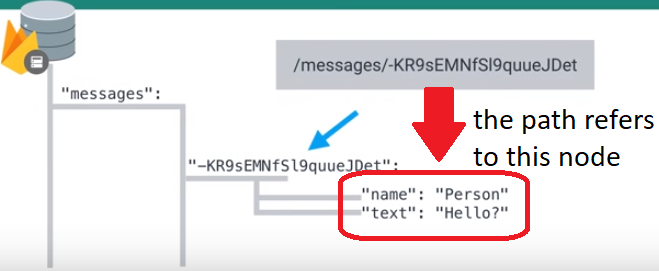
How do you navigate around --- there is the concept of parent & child -- but, we use the path (almost like a filepath) to describe the node we want
Writing to Firebase Database (sample project code for writing)
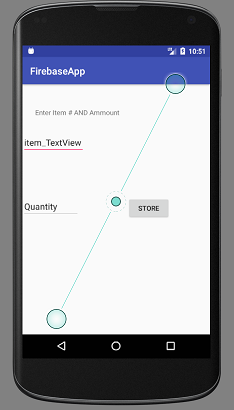
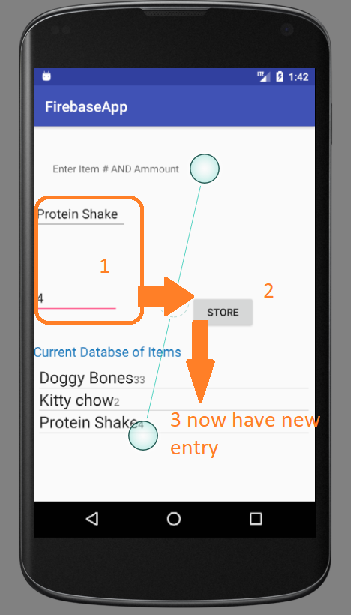
imagine you have this Activity with 2 EditTexts and 1 button and when we hit the Store button we want to save it to an items node in our JSON tree
in onCreate of Activity --connect to your database
//grab handle to FirebaseDatabase
mFirebaseDatabase = FirebaseDatabase.getInstance();

//grab handle to the items "table" portion of our JSON tree that is the databse
mItemsDatabase = mFirebaseDatabase.getReference().child("items");
now Create a java class Item.java that represents as a Class an Item
import com.google.firebase.database.IgnoreExtraProperties;

/**
 * Created by Lynne on 2/4/2018.
 * represents a single Item that has the properties of name and quantity
 */

@IgnoreExtraProperties
public class Item {

    String name;
    String quantity;

    public Item() {}

    public Item(String n, String q) {
        super();
        this.name = n;
        this.quantity =q;
    }

}
create event handling code for your button in the activity that will read in the
text for name and quantity, create an instance of the Item class, and use it to store to the database using a setValue command on our database mItemsDatabase. It uses the push() method in order to autogenerate the pushID (see above) associated with this new item entry in our items node of the database JSON tree//register event handler for the Store button
// Send button sends a message and clears the EditText
mStoreButton.setOnClickListener(new View.OnClickListener() {
@Override
public void onClick(View view) {
// crete instance of the Item class based on user input data
Item item = new Item(item_EditText.getText().toString(), quantity_EditText.getText().toString());
//store to our database -- note the push method will in essence execute
// mItemsDatabase.child(itemId).setValue(item); and create the itemID for you
// so it is unique
mItemsDatabase.push().setValue(item);
// Clear input box
item_EditText.setText("");
quantity_EditText.setText("");
}
});
NOTE: the above code will over-write an existing node with this id completely --if you just want to update say the quantity you can
Using setValue() in this way overwrites data at the specified location, including any child nodes. However, you can still update a child without rewriting the entire object. If you want to allow users to update their profiles you could update the item name as follows. Of course this requires that you know the itemId
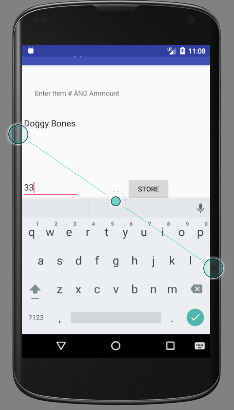
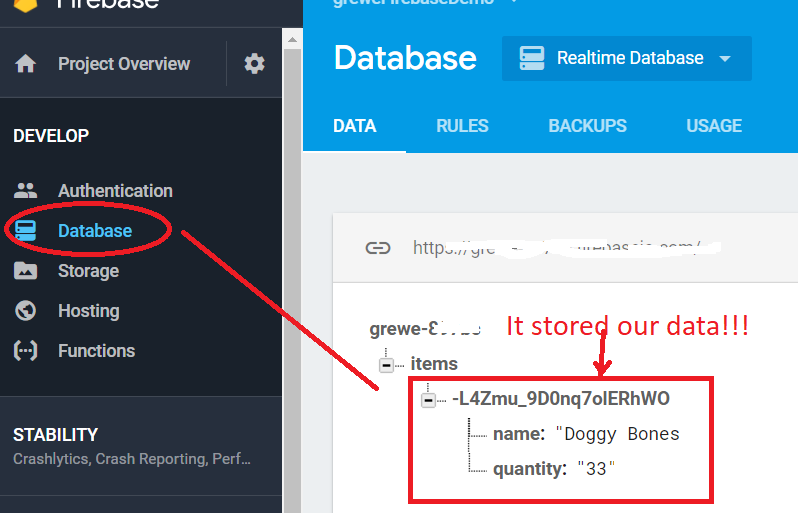
mItemsDatabase.child(itemId).child("name").setValue(newName);Lets run the code and see what happens
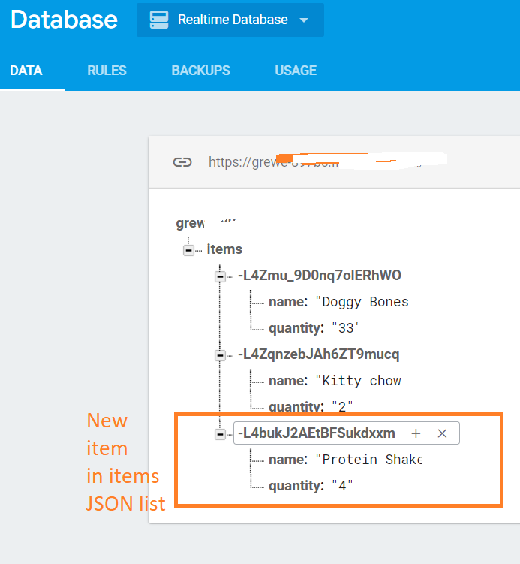
here is what it looks like after adding another item
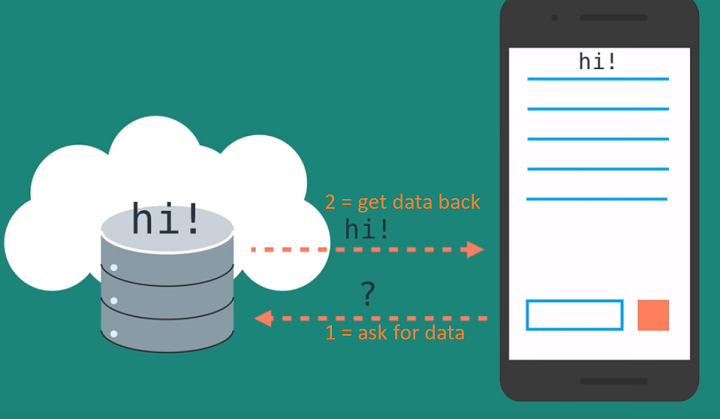
Reading From Firebase Database
Traditionally you have to make a request to database to get/read from it -- which
is okay if you are only occasionally wanting to get data or don't care about live changes
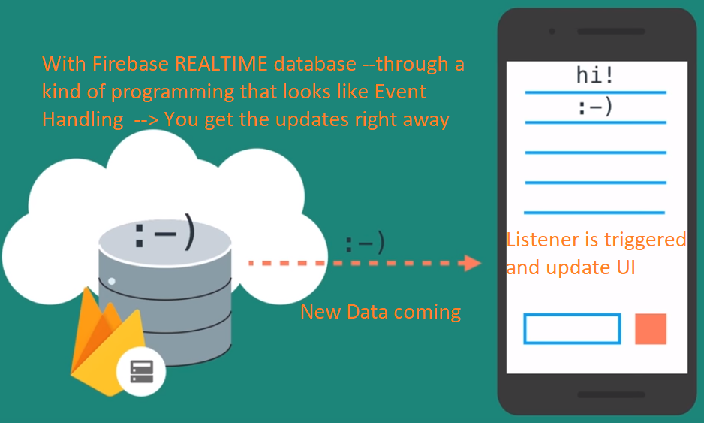
But, what if you want to always have the live data shown in your app --> SOLUTION
REALTIME Firebase Database lets you have listener in your code that recieves updates automatically from the database
Lets reuse the previous application but, add a ListView to the bottom of our layout that will display using the REALTIME Firebase Database all the items currently in it.
NOTE that this has our 2 current items in DB
STEP 1: Add ListView to the bottom of your layout file for Main Activity that will be used to hold your items from the items list of the JSON REALTIME Firebase database (I am not going to explain this --but, you can download the CODE HERE)
Step 1.1: after doing the layout add code to your Main Activity setup some new class variables
public class MainActivity extends AppCompatActivity {

    //this represents object to access FirebaseDatbase associated with this app
    FirebaseDatabase mFirebaseDatabase;

    //this represents object to access the Items part of the datbase
    DatabaseReference mItemsDatabase;

    //button for entering item into database
    Button mStoreButton;

    //item name Edit Text and quantity quantity_EditText
    EditText item_EditText;
    EditText quantity_EditText;

    // items ListView of what is currently in the database
    ListView items_ListView;

    //Adapter for items_ListView
    ItemsAdapter itemsAdapter;

    //child event listener to get read/updates automatically from Firebase items database
    ChildEventListener items_childEventListener;
STEP 1.2: in the onCreate() method get handles to this ListView and create its adapter
//grab handle to the ListView that will populate with the current Firebase items database
items_ListView = (ListView) findViewById(R.id.itemsListView);
//initialize List and Adapter for our items_ListView
List<Item> listItems = new ArrayList<>();
// create adapter where each item's layout specified by item_layout.xml and use listItems to populate List View
itemsAdapter = new ItemsAdapter(this, R.layout.item_layout ,listItems );
//now register adapter to the list view
items_ListView.setAdapter(itemsAdapter);
STEP 2: make sure your Item.java has get*() methods to retrive the name and quantity of an Item
package com.grewe.ilab.firebaseapp;

import com.google.firebase.database.IgnoreExtraProperties;

/**
 * Created by Lynne on 2/4/2018.
 * represents a single Item that has the properties of name and quantity
 */

@IgnoreExtraProperties
public class Item {

    String name;
    String quantity;

    public Item() {}

    public Item(String n, String q) {
        super();
        this.name = n;
        this.quantity =q;
    }


    String getName() {
        return this.name;}

    String getQuantity() {
        return this.quantity; }

}
STEP 3: reuse our DatabaseReference object above mItemsDatabase we are going to attach a "child event listener"..... inside the onCreate() method of Activity
//create ChildEventListener for listening get/read from items Firebase REALTTIME database
items_childEventListener = new ChildEventListener() {

    //method called whenever a new item added into the items JSON list of database
    //  AND when this listener is first attached it will automatically call for every
    //    item already existing in the database
    @Override
    public void onChildAdded(DataSnapshot dataSnapshot, String s) {
        //dataSnapshot contains the item added that triggered this listener code
        Item newItem = dataSnapshot.getValue(Item.class);  //list deserializes the JSON string into an Item object

        //now add this new item to the list adapter for items AND it will get displayed
        itemsAdapter.add(newItem);

    }


    //method called when an item is changed
    @Override
    public void onChildChanged(DataSnapshot dataSnapshot, String s) {
    }

    //method called when item is deleted
    @Override
    public void onChildRemoved(DataSnapshot dataSnapshot) {
    }

    //method called when item's location/order in the list of items in JSON items list in database
    @Override
    public void onChildMoved(DataSnapshot dataSnapshot, String s) {
    }

    //method called when some kind of error occurred
    @Override
    public void onCancelled(DatabaseError databaseError) {
    }
};

//register the ChildEventListener for items created above for our mItemsDatabase
//  which points to the items JSON list of our Firebase database
mItemsDatabase.addChildEventListener(items_childEventListener);
STEP 4: lets run it ---first we will use the app to add another element and see what happens...
NEXT -- read here about how to authenticate so it is secure-- you can not leave it as public read/write