IntelliJ IDE
you are responsible for learning this IDE on your own...but, here are some basics
DISCLAIMER: depending on the version of your IntelliJ IDE the steps may be different--see IntelliJ developer site for current details for your version
Create New Project
-
STEP 1: Creat the project
-
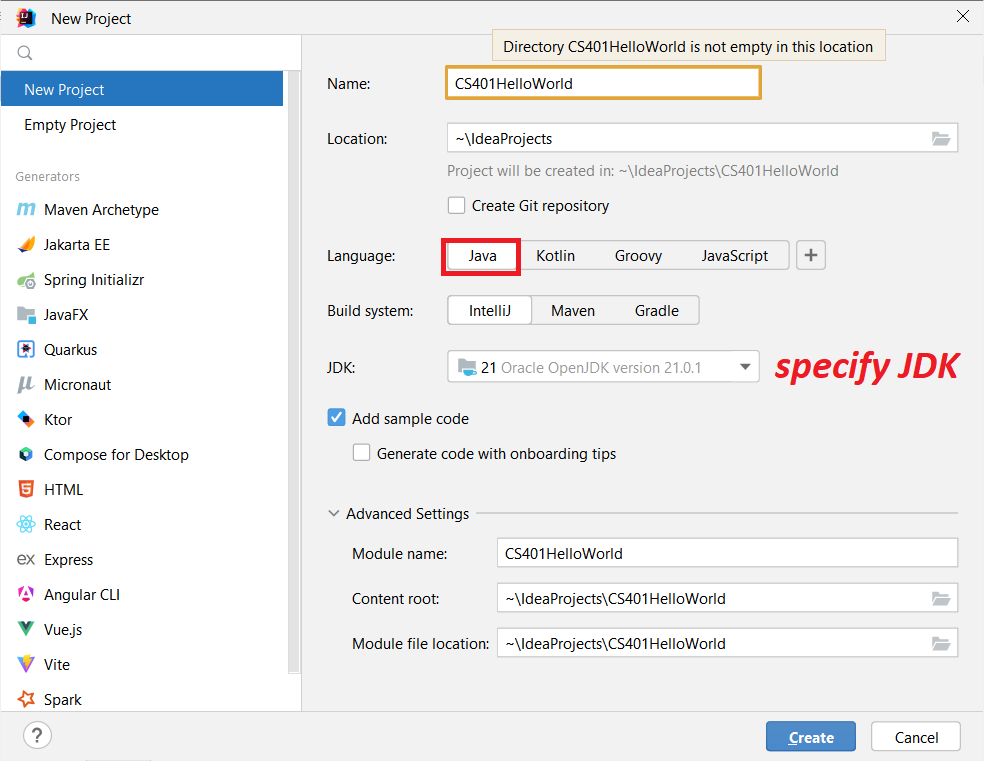
STEP 1.1: File->Create New Project, Select Java , specify IntelliJ as build system, Location, etc.
NOTE: that IntelliJ may not place your code in any package but, you can always create a package and move your java files to it

-
STEP 1.2:Beginning Code--IntelliJ when creating our project created for us a class called Main.java. This cass has the "special" public static void main(String[] args) method that is automatically invoked when you run the Main class code (the Java Virtual Machine will look for this and if it can't find it the program will fail to run ---this is like the main function in C++ code).
-
NOTE: Below you can see the result of creating a new project. Note, I manually created a package and added the
Main.java class to it. The default Main class prints to standard output a Hello World! message. You can edit the main
method to add your own code and you can also create new classes by right clicking on src folder and make new Java file

-
STEP 2:run the code (this is for a Java application) Run->Run Main (or Debug Main for debugging).

-
The output

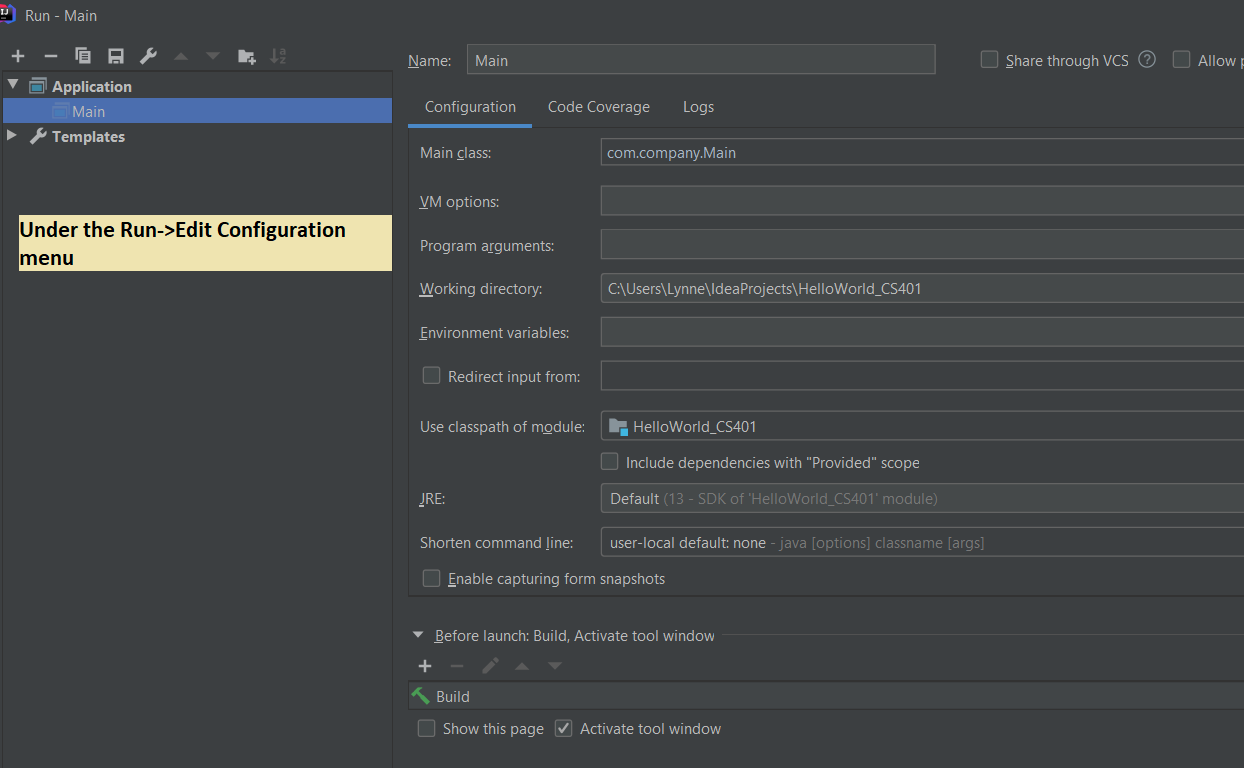
OPTION: Under Run -> Edit Configuration you can setup new or alter existing configurations. See the configuration for our application-
can alter what class is run, VM options, directory, arguments to pass, version of the Java Run Time to run with, etc.
-

-
