Setting Up WebStorm IDE
In this course we will be using the WebStorm IDE for developing MEAN stack Web applications. The IDE is free for users with an .edu email. Once you have downloaded and installed WebStorm, you will be able to clone and checkout the remote repositories from OpenShift. From within WebStorm you will be able to manage the repository by committing and pushing right from the IDE. The IDE will allow you to run and debug Node.js Web applications.
-
Download and install the WebStorm IDE on your local machine (search or see https://www.jetbrains.com/student/ for information about how you can get limited time free for education use)
-
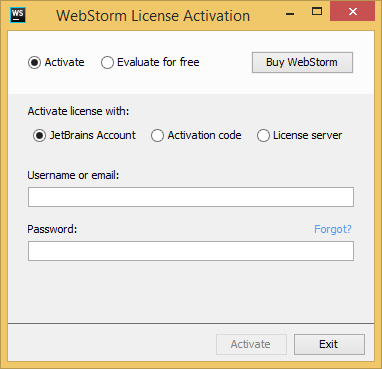
Use your .edu email to register a free limited time use license. Typically when you launch Webstorm the first time you can validate your install using the account you setup with your edu address.
-
GO over the get started for WebStorm videoS on basic topics including debugging, autocomplete, and live code analysis(search/browse jetbrains site for it or try this link https://www.jetbrains.com/webstorm/documentation/ )
INSTALL THE JETBRAINS CHROME EXTENSION --this will allow you to debug your nodejs locally using the chrome built in javascript engine from within WebStorm to test your app.
-
Create a beginning application that simply says hello and prints the current time on the server (not really interactive)and Verify the application works locally.
-
From the top right of the IDE, select the dropdown and select webdev, the run time configuration you created earlier
-
Click on the green play icon next to the dropdown to run your server